


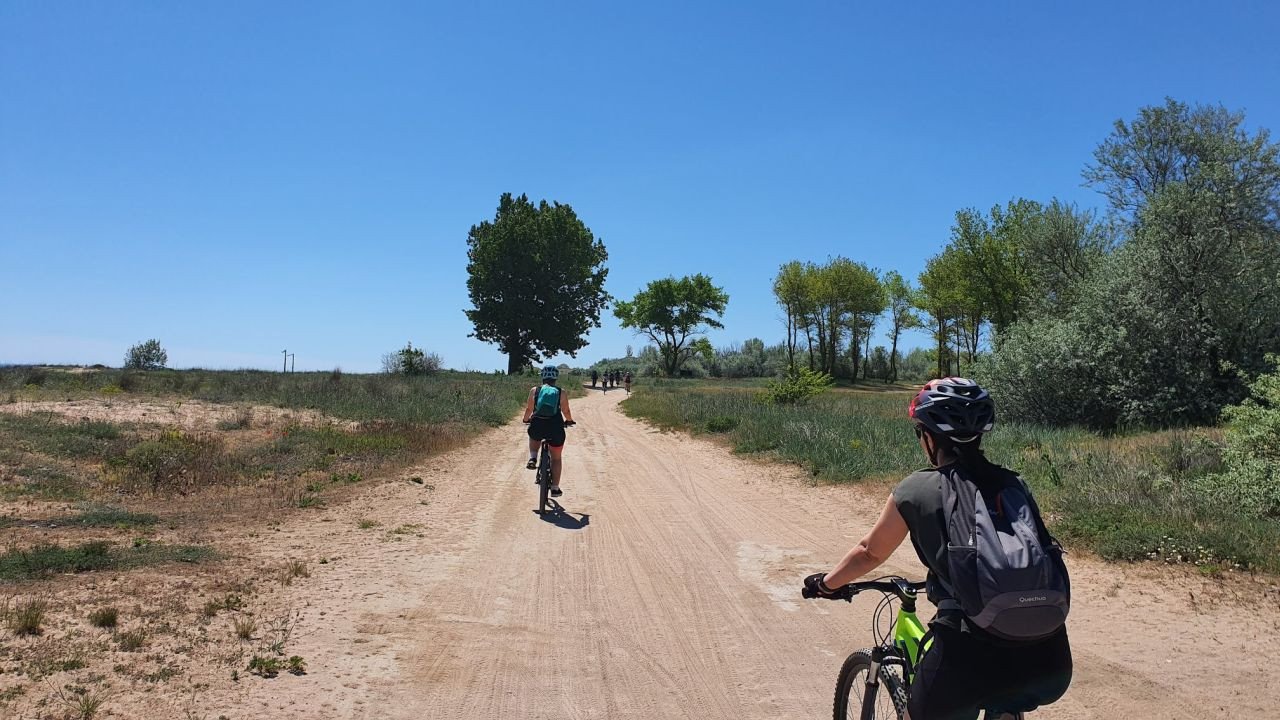
For a while now I had wanted to ride in a more organised way. Not necessarily at a professional level, but surrounded by friends and family who are mad about cycling and sport, I decided it was time to call myself a long-distance cyclist.
It was not the first time I had got on a bike, but it was the first time I really wanted to finish a tougher mountain bike route, one a little outside my comfort zone. So, with a group of keen cyclists, I plucked up my courage, put on my helmet and gloves, and got ready for this adventure on two wheels.
As we have just come back from a bike trip, we would like to share a few thoughts on our experience and some tips, especially if you are new to cycling or are just about to take it up.
A little about our weekend route
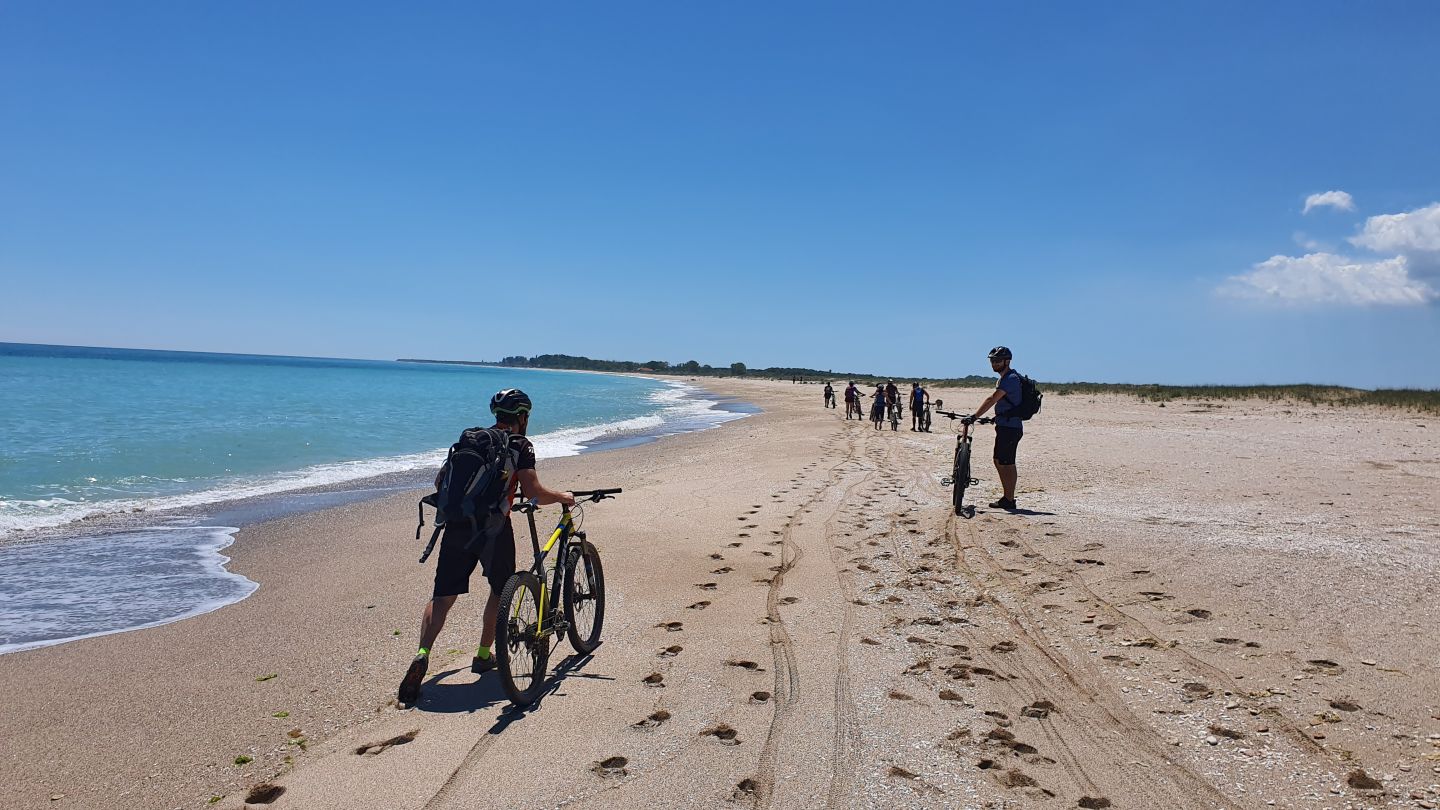
This weekend’s route was on the coast in Bulgaria and lasted two days. On the first day we rode 55 km, plus about 7 km of pushing the bikes through sand. That first stretch reminded me that it is not exactly pleasant, but it is a great experience, especially by the end of the ride. We set off from Krapets along the clifftops, passed briefly through Ezerets and reached Tyulenovo. The route was easy to moderate, and the scenery was worth every pedal stroke.
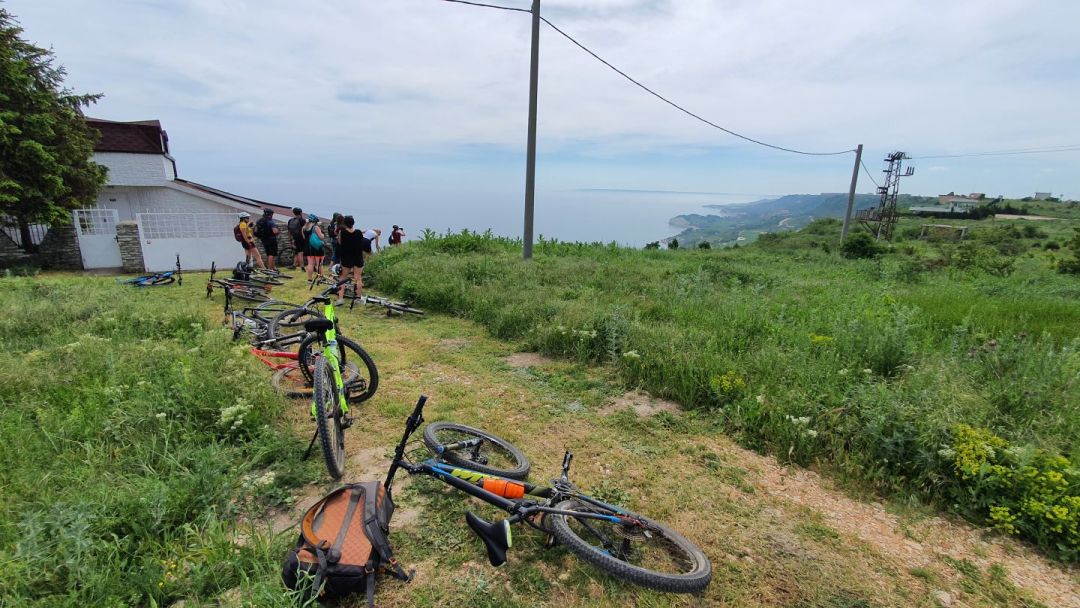
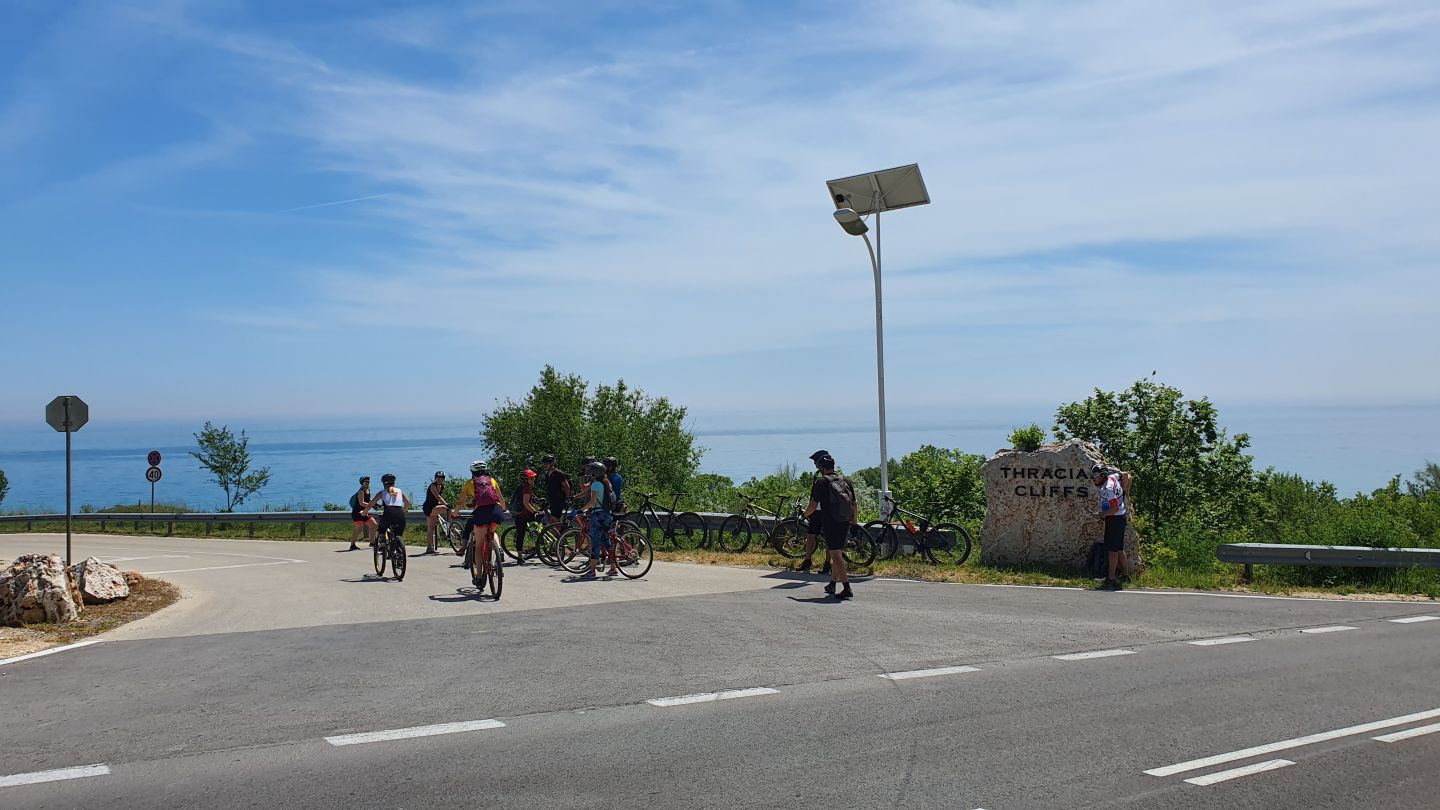
On the second day, the route covered 30 km of moderate difficulty from the edge of Kavarna to the Thracian Cliffs and the clifftops towards Varna. The hardest part of the route was also the most beautiful. As in life.

We sped down the winding cliff road to the Thracian Cliffs with superb views ahead, and after a break on the beach of the same name we climbed back up the road. The climb was the hard part, but doable even for beginners. Then the route wound along the clifftops by the sea, before we cut onto the road through town to get back to the cars.
So what was the route like? We have put a few photos in this article that say more than words. The route was organised by Alex Mircea of OnAdventure, who combined several types of terrain, so we enjoyed fields, rocks, a bit of road and some sand. Alex has been running this route for a few years and, if we are not mistaken, there is another one in the autumn.
As for accommodation, we camped on the wooded beach at Krapets with a field of poppies in front of us, and enjoyed a campfire, food cooked on a disc grill, music and good company.
What to know before a route like this
As we said, the route was easy to moderate. Even so, if you do not have many rides like this behind you, or you are a complete beginner and want to see what it is like, we have put together some tips to help it go better.
The right kit really matters
A helmet, gloves and sun cream are a must. You ride in the sun, and two or three applications of sun cream make a difference even in May. As for the helmet, it does two jobs here: it protects you from falls and from the sun. If you do not like tan lines, consider a thin long-sleeved top.
Padded cycling shorts help, and for even more comfort, a special padded saddle. Much of the route is over fairly large stones or bumps, which add to the soreness you get from the saddle on such a long ride anyway. We cannot promise your backside will not hurt at all, but it will certainly hurt less.
Do not keep your arms stiff, locked straight or very tense while you ride. Your neck and shoulders will thank you.
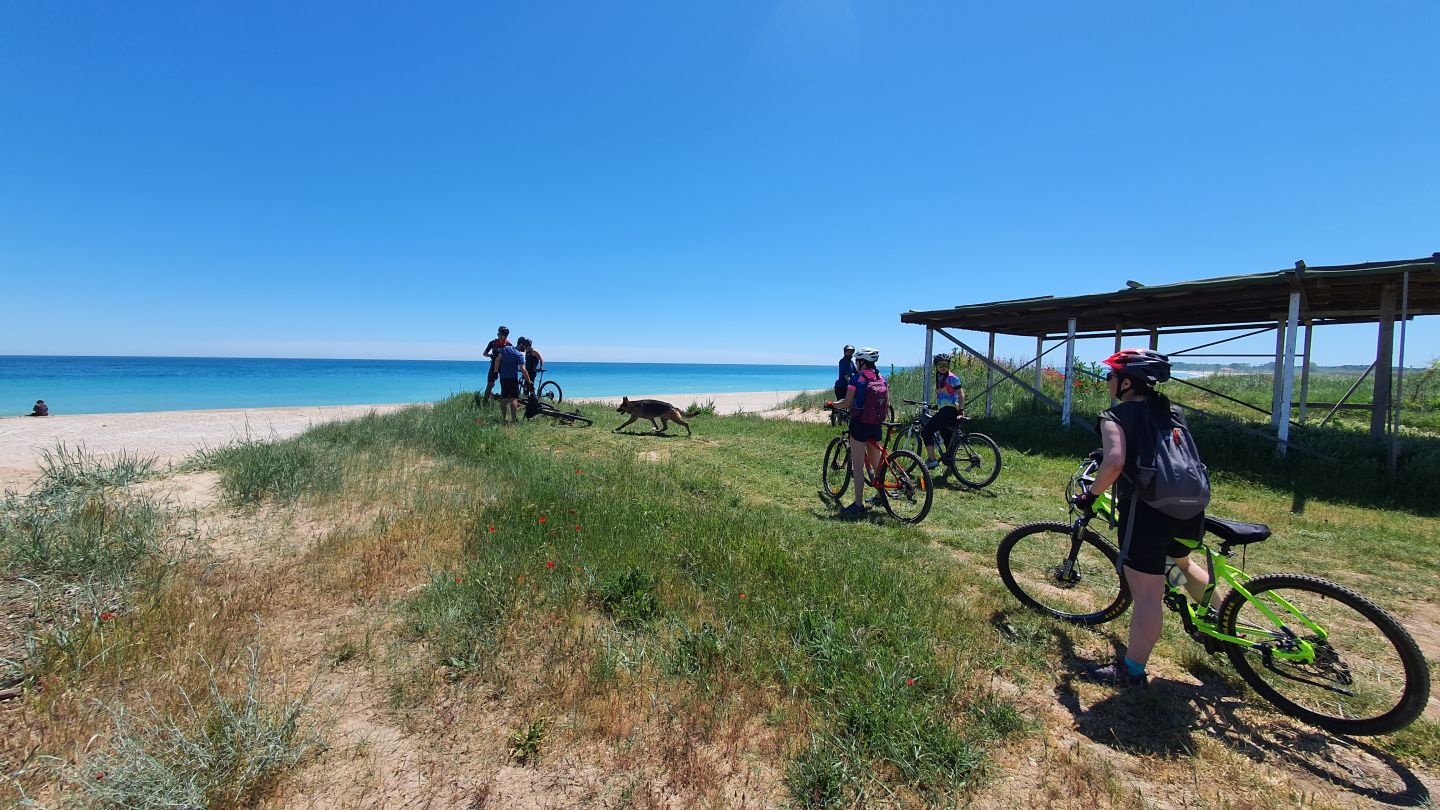
A route like this is not like a ride in the park or around town, so it is important to find the right position on the bike. If the saddle is too low, your legs bend too much as you pedal, your knees come up too high, you cannot push properly on the pedals on climbs, and your knees will ache at the end.
Set your bike up to fit you
If the saddle is too high, your backside will hurt more, and you still will not have the power to push the pedals properly, because you do not have proper contact with them. Also make sure the saddle is set at the right fore-aft position and angle, so you can reach the handlebars comfortably.
If the saddle is too far from the handlebars, you will not be able to keep your arms slightly bent. Last but not least, make sure you can reach the bike’s controls comfortably. It would not hurt to get to know them a little beforehand.
Longer socks. Some parts of the route have lots of grass and thistles. We got off fairly lightly this time, but on the autumn route the puncture vine will have its spikes fully grown and will scratch your legs.
Give your bike a thorough check before such a long ride. Check the saddle, the chain (by the way, if the chain has not been changed for a long time, you may want to consider replacing it; we recommend a chain with a quick link, as it is easier to fit and remove when needed), the brakes, the gears and so on. You do not want to be stranded in a field a long way from where you are staying.
Oh, and do not forget lights. We did not need them because we finished before sunset, but you never know.
Carry spare inner tubes and a puncture repair kit in case of punctures. We recommend self-sealing inner tubes: when you get a puncture, the sealant gel inside the tube automatically moves to the hole and plugs it.
If you want to stop worrying about this altogether, invest in tubeless tyres. We were lucky this time: in 80 km, none of the 15 of us who took part had a single puncture, but we hear that in autumn the puncture vine wreaks havoc, so it is good to be prepared. In fact, it is good to be prepared in any season.
Pack a pump and a few tools. You never know when you might need them. For the ride itself, take 2-3 compressed-air cartridges.
Staying hydrated on the bike is very important
Waterrr. On a route like this you will drink a lot of water, and there are hardly any shops along the way. 2-3 l, depending on your build, will be enough. Pack a few snacks in your backpack too. A route like this can take up to 7 hours.
On descents, if you are a beginner, try to use the rear brake more. If you are not very familiar with the bike and do not yet know how to balance braking between both brakes, you are more likely to go over the handlebars. With the rear brake, the chances are lower.
You will feel the back wheel sliding, especially on descents with boulders and gravel, but that is fine, do not panic. And do not worry if you hear strange noises either: braking makes the disc overheat and squeal a little.
On sand or sandy ground, keep pedalling, keep the bike straight and do not brake hard, because there is a high risk of the bike sliding out from under you and you falling.
Lift yourself slightly off the saddle over stones or bumps, to avoid putting pressure on your spine.
It is very tempting to photograph the absolutely stunning scenery along the route. Do not take your phone out, especially if you are going fast or descending. In fact, it is best not to take it out at all while riding. There will be plenty of stops for that.
We had beginners with us, and there was a running joke about this: on climbs, small chainring, big sprocket. And do not stop, even if you feel you are spinning and moving too slowly. Find your rhythm and stay with it until you are over the top.
Enjoy the experience.
If you are short of route ideas, check the upcoming events on the OnAdventure page. Alex Mircea organises MTB routes for those of you with more experience, as well as easier routes like this one at Krapets.
Alex can also transport the bikes, up to 8 per trip, but if you want to drive your own car and need bike racks and roof bars, you can count on SuportBicicleta.ro
One final thought: there will be moments on the route when you have to fight with yourself to keep going to the end, and you may even need help or encouragement. Hang in there, because the final stretch is magical, and when you reach the finish you will feel proud and full of energy. After so many kilometres, the endorphins will run wild.
PS This article was written by our colleague Maria, who did her first long bike route at the weekend and went through everything described above.
Comments